 I've been making these boxes since forever. Okay, maybe not forever. Would you believe "for a very very long time"?
 I used to make them out of old Christmas cards. They were perfect for these cute little boxes.
I hope you checked out Mischelle's Savvy Projects blog already to see how I made the decorated lid. If not, hop on over there--then come back here--I'll wait for you!
 Back? Okay, let's continue.
 To make this box, follow along as I take you step-by-step. There are many many ways to make an origami box; this is just one way. (My favorite way!)

I started with a 7.5 x 7.5 square. You can make large boxes or small boxes, depending on the size of square you start with but it always should be a square.
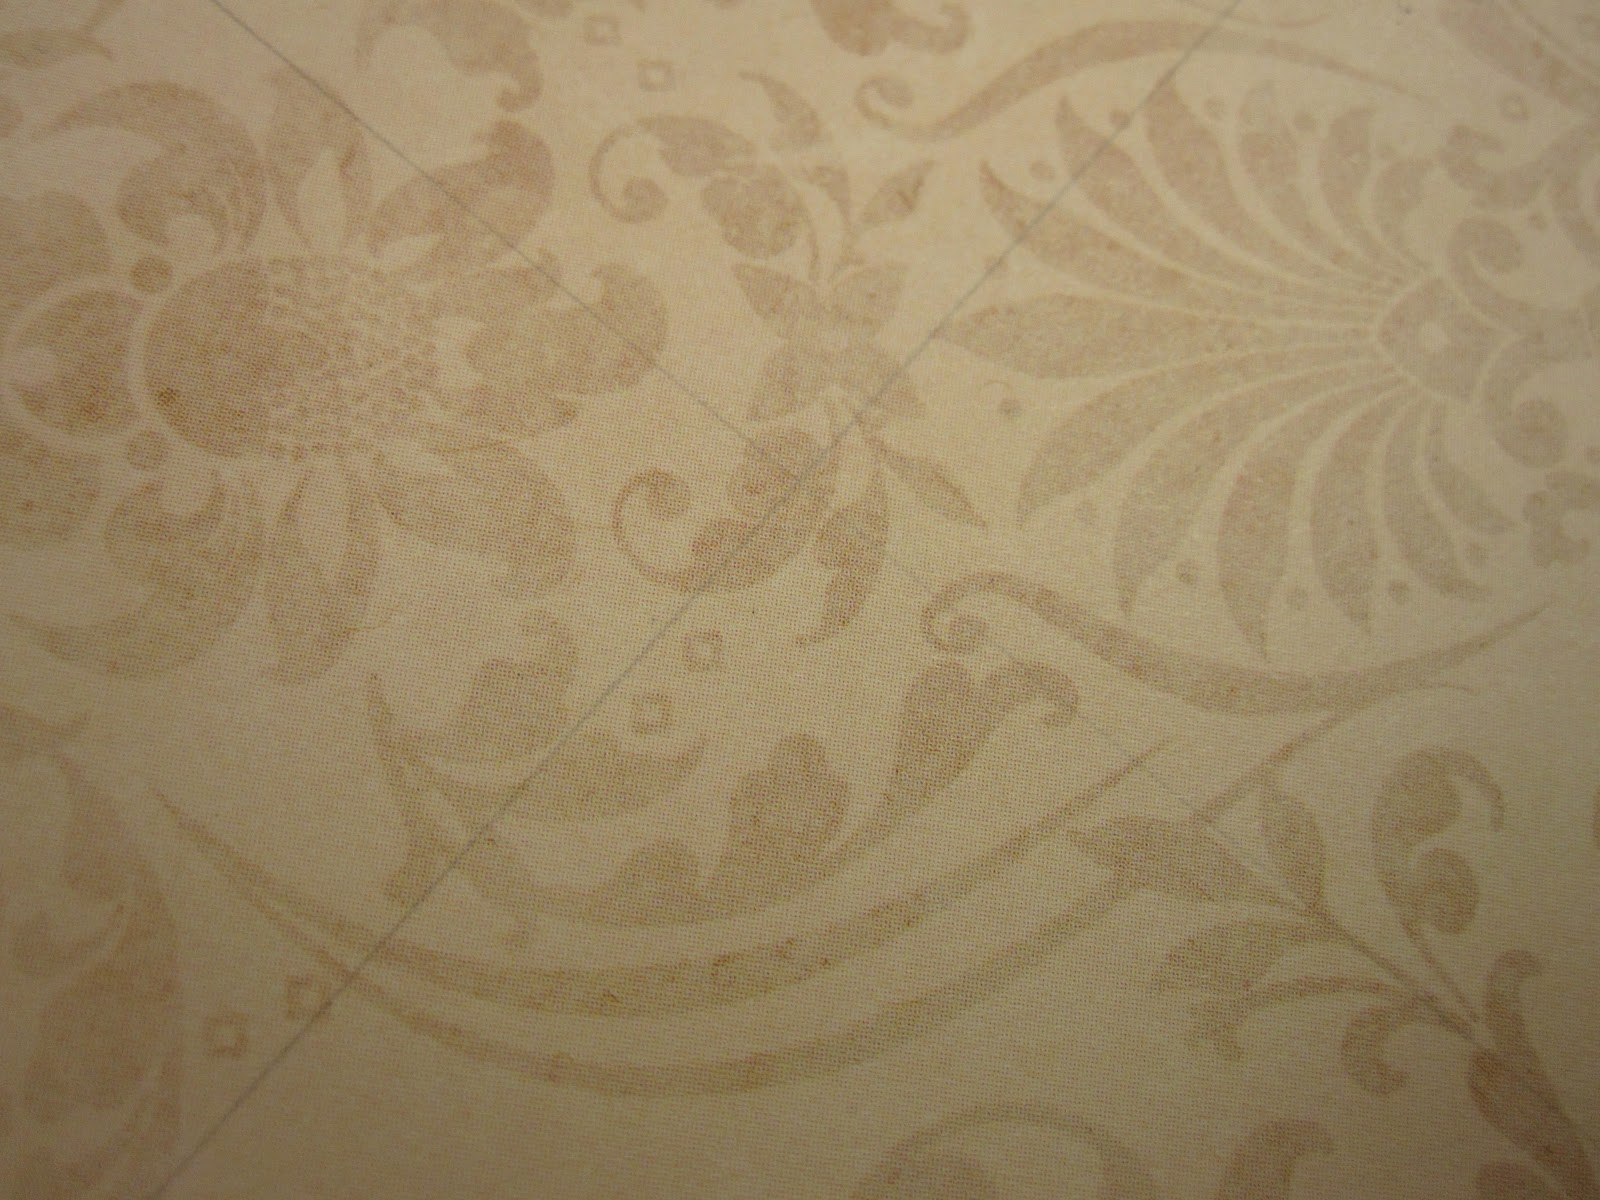 Now, you need to find the center of the square (without folding two diagonal creases).
 The easiest way to do this is to place a ruler from corner to corner (diagonally) and draw a line. Do again with the other two corners. You'll basically end up with an "X." Where the two lines intersect--that's the center of the square.

So now you start folding--bring one corner to the center and fold.

Don't unfold--fold up to the center one more time. Now unfold.
Do this three more times (with each corner).

After you fold all four corners, it should look something like this.

For illustration purposes only, I drew two lines so it would be easier for you to see what I'm doing.

You want to start cutting as shown.
It's easier if you figure out where the square with NO folds are.
You only want to make two cuts on TWO SIDES only.

Here's a closer look at where I cut.
See the square with NO folds.
It's also where you marked the center of the square. Remember doing that??

So, now you start folding again.
Start with the sides with NO cuts. Fold, point down, to the first fold line.

Don't unfold. Fold to the second fold line.

Now, push both sides so they STAND up. See the sides of the box start to form?

Take the cut sides and go over the sides that are standing up.
This will hold the sides in place so it will be a box.

This is how the inside of the box will look.
If you notice the inside of THIS box, I inserted a piece of matching patterned paper to give it a finished look.
For a "normal" origami box, you would make two boxes--the top box would be a slightly larger square so it would go over the bottom box. This isn't your "normal" origami box. I made my lid. . . well, you know how I made the lid because you saw it on Mischelle's Savvy Projects blog.
I hope you have fun making these boxes. They are quick and easy; once you make one, you'll be able to make these in your sleep.
So, until next time,

3 comments:
Wow. I make my boxes a little different but yours are fabulous and look sturdy. Thanks for sharing!
You Rock, Girl! Loved your great and easy to follow instructions. I want to make boxes!
Can't wait to see more from you.
Jodie
I have to say I love your boxes. You're just so darn creative and it comes out so beautiful and unique.
Post a Comment